Shipping Carriers
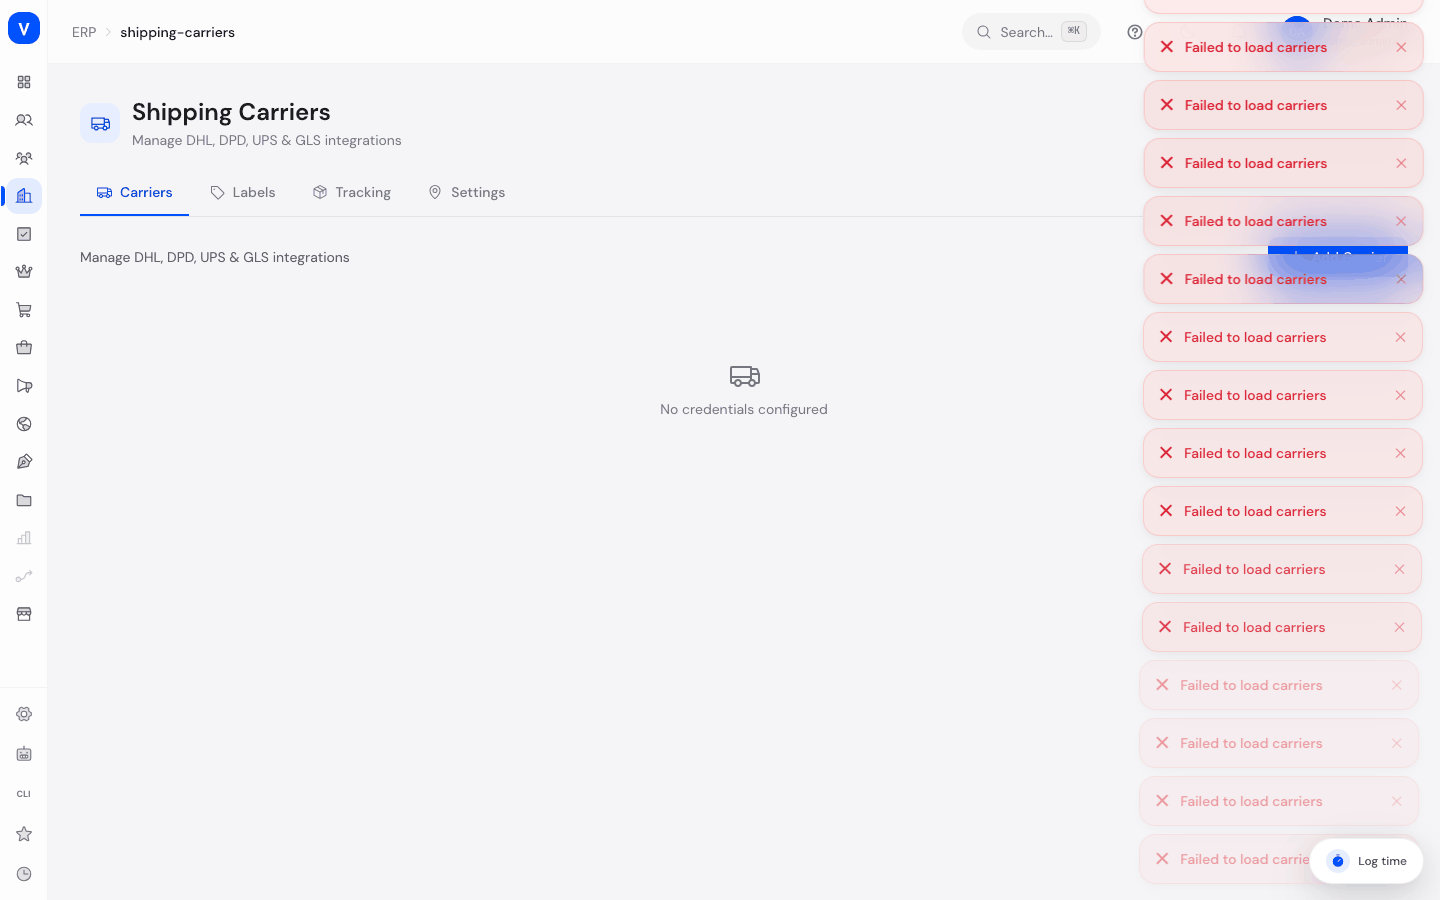
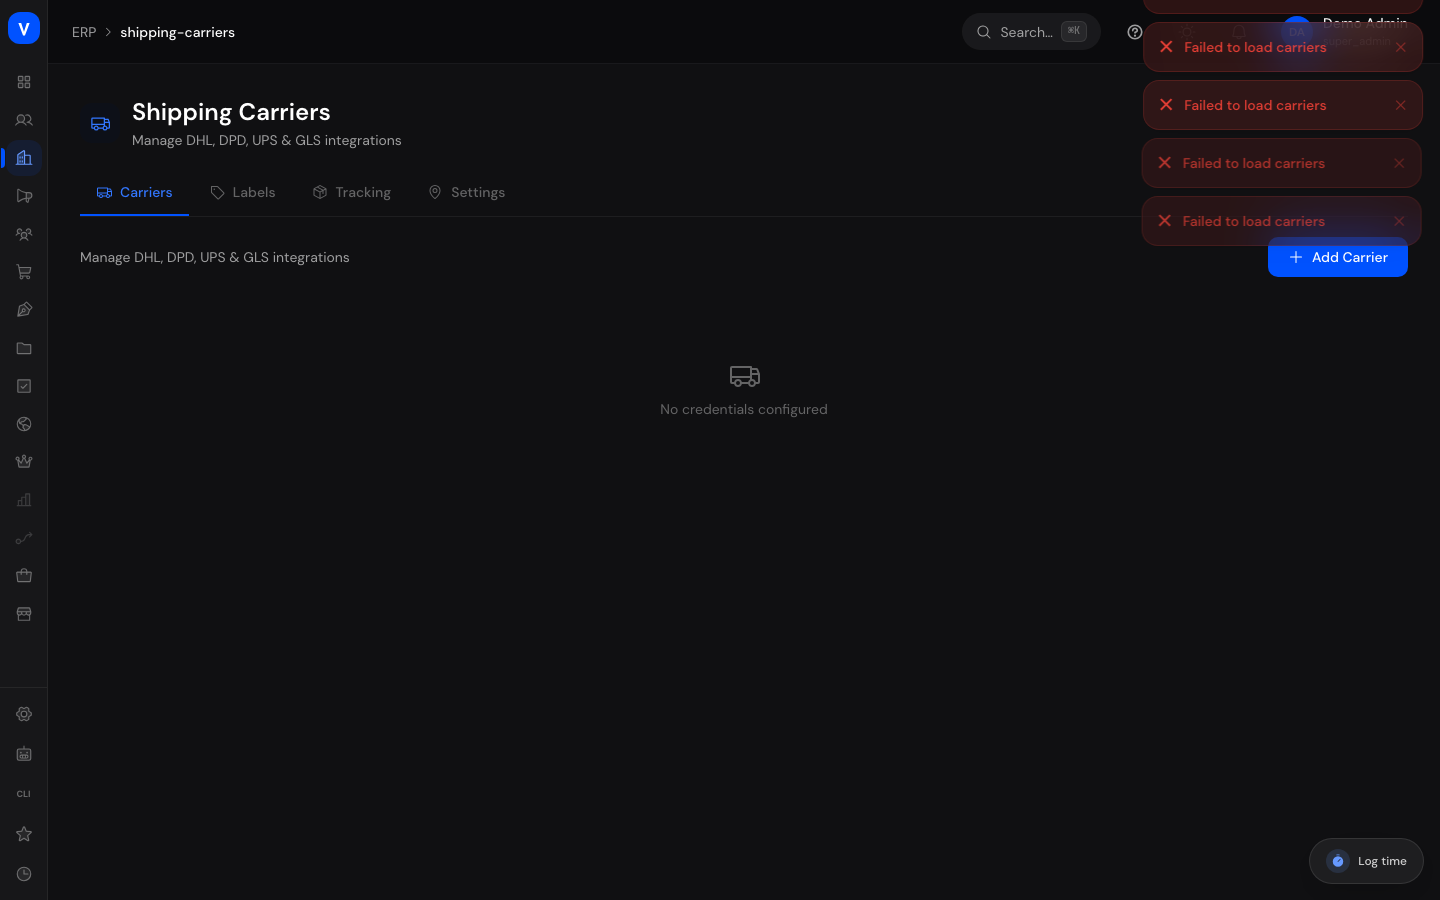
Here you connect shipping carriers such as DHL, DPD, UPS, or GLS, create shipping labels for orders, and track shipment status. The page is organized into four sections: Carriers, Labels, Tracking, and Settings.
/erp/shipping-carriersWhat can I do here?
- Create, edit, or delete credentials and default settings for a shipping carrier (Carriers tab)
- Create a shipping label for an order: enter recipient address, parcel dimensions and weight, and service type (Labels tab)
- View or void already created labels
- Track the current shipment status of individual shipments (Tracking tab)
- Configure general shipping settings (Settings tab)
Step by step
- Connect a carrier: In the "Carriers" tab, click "Add Carrier", choose the desired provider (DHL, DPD, UPS, or GLS), enter a name and the credentials, optionally set a default weight and label format (PDF or ZPL), then save.
- Create a label: In the "Labels" tab, create a new label — enter order ID, carrier, and recipient name, address, phone, and email, provide parcel weight (required) and optionally dimensions (length, width, height) and service type, then create it.
- Track a shipment: In the "Tracking" tab, search for the desired shipment to see its current status.
- Edit or remove a carrier: In the "Carriers" tab, use the pencil icon to adjust credentials and settings, or the trash icon to remove the connection.
Fields explained
| Field | Meaning | Notes/Effect |
|---|---|---|
| Name | Freely chosen name of the carrier configuration | Used to tell apart multiple accounts of the same provider |
| Carrier | DHL, DPD, UPS, or GLS | Determines which credentials are required |
| Credentials | Provider-specific API credentials | Number of stored credentials shown in the overview |
| Active | Whether the carrier is currently usable | Inactive carriers are not selectable when creating labels |
| Default Weight | Pre-filled parcel weight for new labels | Optional |
| Label Format | Format in which the shipping label is generated | PDF or ZPL |
| Order ID | Order the label belongs to | Required |
| Recipient (Name, Address, Phone, Email) | Recipient details for shipping | Name, street, and weight are required |
| Parcel Weight / Dimensions | Weight (required) and length, width, height (optional) of the parcel | Needed for the carrier's postage calculation |
| Service Type | Shipping option offered by the carrier (e.g. Standard, Express) | Optional |
Values & statuses
Shipping carrier (shipping_carrier)
| Value | Plain-language meaning |
|---|---|
| dhl | DHL |
| dpd | DPD |
| ups | UPS |
| gls | GLS |
Label status (shipping_label_status)
| Value | Plain-language meaning | What happens |
|---|---|---|
| pending | Pending | Label has been requested but not yet generated |
| created | Created | Label has been successfully generated and can be printed |
| voided | Voided | Label has been made invalid |
Tracking status (shipping_tracking_status)
| Value | Plain-language meaning |
|---|---|
| pending | Pending — shipment has not yet been picked up |
| in_transit | In Transit |
| out_for_delivery | Out for Delivery |
| delivered | Delivered |
| exception | Exception — there is a delivery problem |
Frequently asked questions
Can I connect several carriers at once?
Yes, you can create as many carrier configurations as you like, including several accounts of the same provider with different names.
What happens if I mark a carrier as inactive?
It is then no longer selectable when creating new labels; existing labels are unaffected.
What information do I need at minimum for a label?
Order ID, carrier, recipient name, recipient street, and parcel weight are required.
Where do I see whether a shipment has already been delivered?
In the "Tracking" tab, via the tracking status.